Setup Firebase Messaging in Flutter
Firebase Messaging is another cool feature of Firebase Suite. It allows us to send notifications to our users and much more.
Setup
First, we have to set up Firebase for our Flutter Project. Checkout my post on setting up Firebase if you haven’t already.
Then we have to add the Firebase Messaging plugin to our project.
dependencies:
  flutter:
    sdk: flutter
  cupertino_icons: ^1.0.2
  firebase_core: ^1.3.0
  firebase_messaging: ^10.0.4 # add this
Basically, this is all you need to send notifications to using Firebase!.
Getting Firebase Messaging Token
Firebase Messaging token is used to send notifications to specific devices.
For getting this, there is a function in the Firebase Messaging plugin. So let’s get the token and print it to the console.
Future getToken()async{
    var token = await FirebaseMessaging.instance.getToken();
    print("Your FCM token is : $token");
}
Running the above code will output something like this,
dG_9FYgjSiOmHlv_XxyQ8h:APA91bEsV52c873LipKZZQgU2M__XuvKHZn2EsjN2LY8NNiA9_lF_jXNvmnfqi7F5lOEhi5A2kLILGqSY71yrJGNfwcNHUgQ-kXNAP88KIMoFHuDrq5Y2cENV4h2a139JqHFVajaH4pWTake note of the token we got from this step.
Preparing our Test Notification
We can use the Firebase Console to Send a notification to our Device.
First of all, go to https://console.firebase.google.com and Select your project.
Then from the sidebar, select Cloud Messaging under the Engage Section.
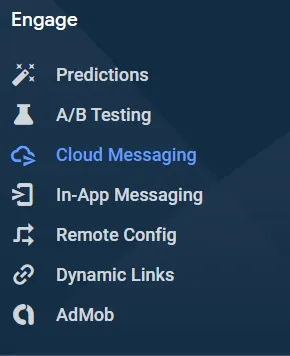
This will open the FCM Section.
Then Click on New Notification. It’ll open a dialog to send a new Notification.
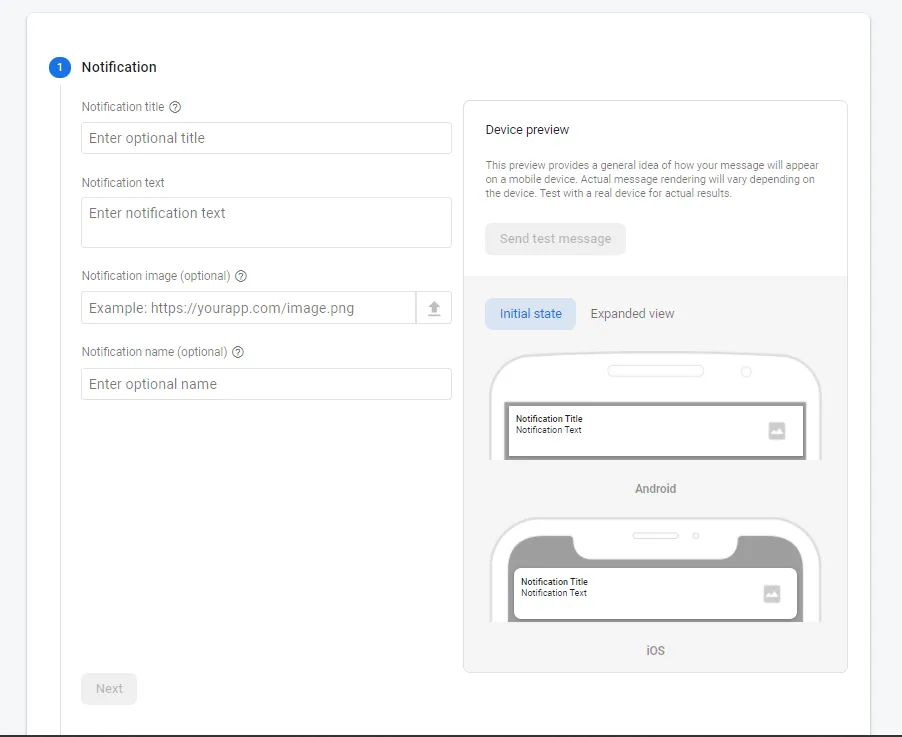
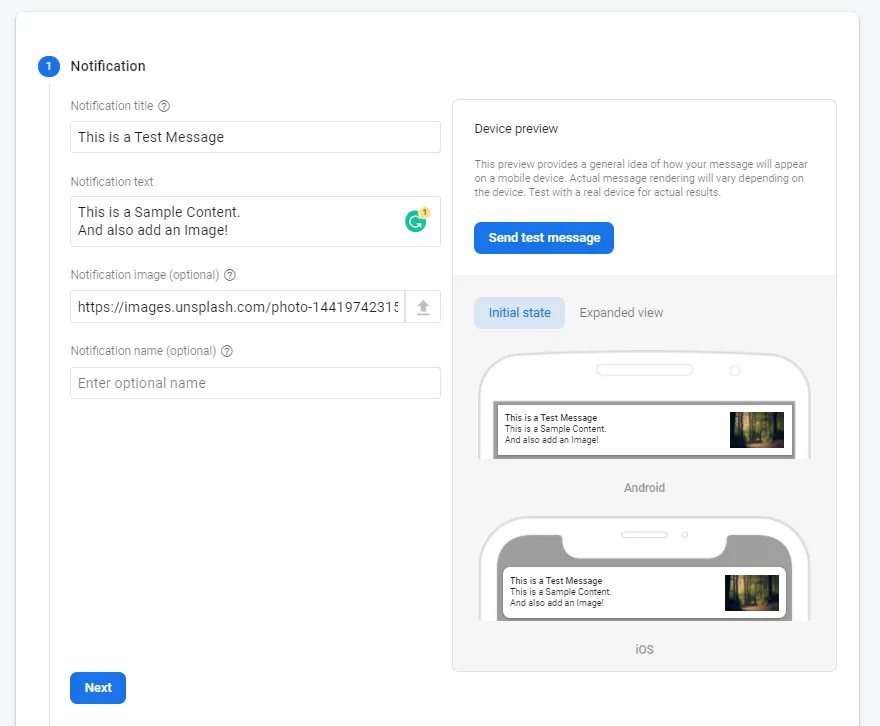
Fill out the Notification Title and Notification Text. And Optionally, you can also add an Image to your Notification. You can see the Device preview on the Right side.
Sending our Test Notification
For this step, Just click on Send Test Message on the Right Side. This will open a dialog to enter the token we previously noticed.
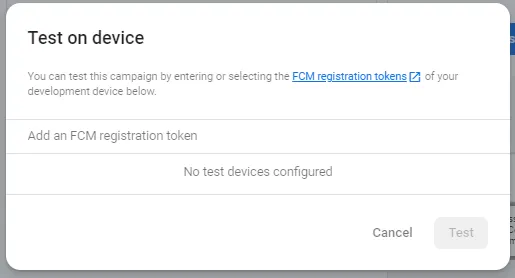
Copy-paste the token we noted earlier and click the plus button on the right.
Then Click Test.
Voila! You have sent your First Notification!
Check your device and you’ll see something like this on the Notifications Panel.

PS: That unlimit on the top is one of my Client Works.
Sending Notification to Multiple Devices
From the Firebase Console itself, we can also send Notification to multiple Devices.
Instead of clicking the Send Test Message, Just click Next. It’ll take us to select our Target.

This is dialog is for Selecting the Apps we want our notification to send to ( One of the Apps connected to our Firebase Project). You Can also target Topics Here.
The Next Step is to Schedule the Notification.
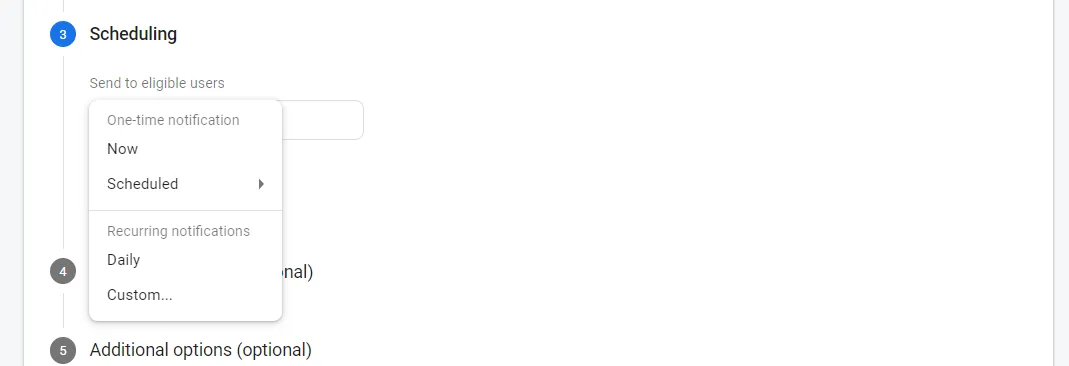
The next two steps are optional. So just skip and click On Review at the bottom right.
This will open the Dialog to Finally publish our Notification.

This will deliver our Notification to every device which matches the criteria we set.
Wrap
You can find more articles related to Firebase Here
Hope you found something useful here.
I’m always open to suggestions!
Let me know your suggestions and opinions on Twitter DM or drop a mail a [email protected].
If you’re feeling too generous, you can support me through Buy Me a Coffee.
Finally, if you found this helpful, please share this within your reach so that more people can benefit from this. And Follow me on Twitter for getting more posts like these 😉.