Change Logo in Flutter Android Application
Change Logo of our Flutter App, without any package or Image Asset Studio

Intro
The Default Logo of a Flutter application is the Flutter Logo. I don’t think most applications will not be sufficient with this Logo.
There are many ways to change this default Logo. This includes using packages like Flutter Launcher Icons or using the built-in Image Asset Studio in the Android Studio.
But the First method needs to install a package and the second method needs us to use Android Studio. If you are like me, who doesn’t use Android Studio, There is a simpler and easy method.
There is a Website Called Android Asset Studio. It is created by an amazing developer called Roman Nurik. We can use this website instead of the Image Asset Studio which is only available on Android Studio. Let’s get started.
Get Started
First of all, go to the above-mentioned website https://romannurik.github.io/AndroidAssetStudio.

Then, click on the New Project Button.
Then click on Launcher Icon Generator.
You will be navigated to a studio-like page.
![]()
If we look closely, we can see that we have 3 Options for creating an Icon.
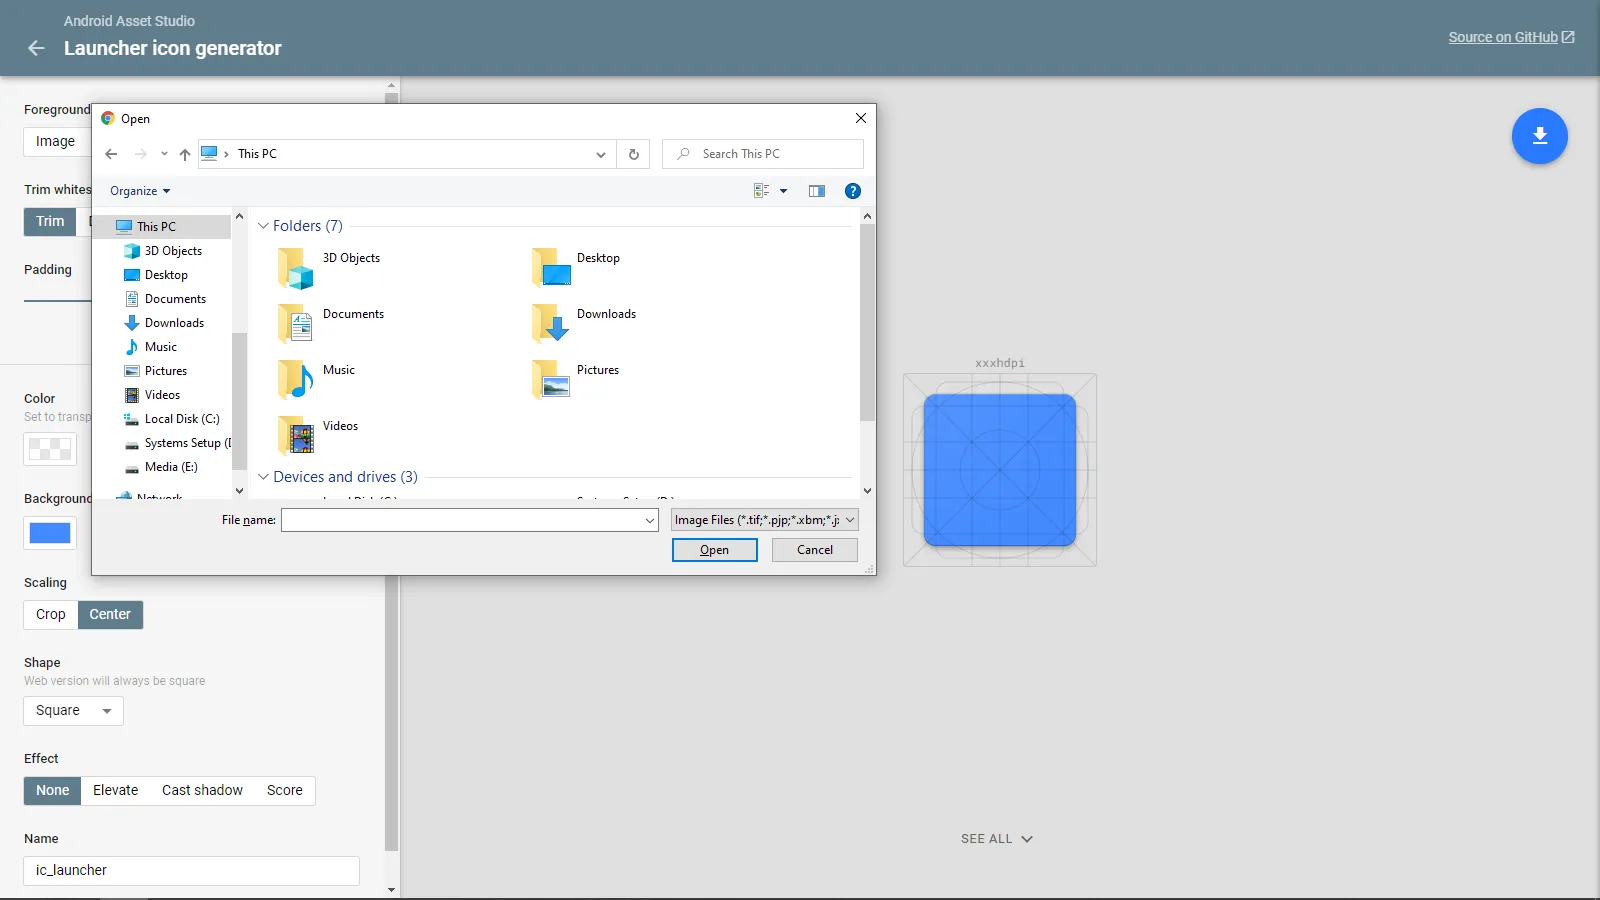
The first one is Image. If we click on that, we’ll be prompted to select an Image.
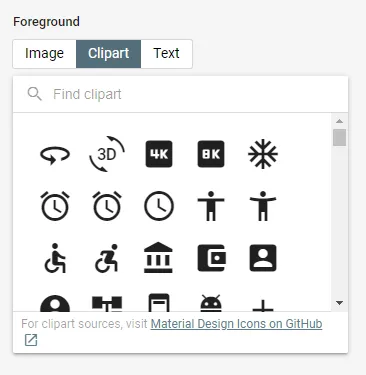
The second one is Clipart. If we select it, we’ll have to select an Icon.
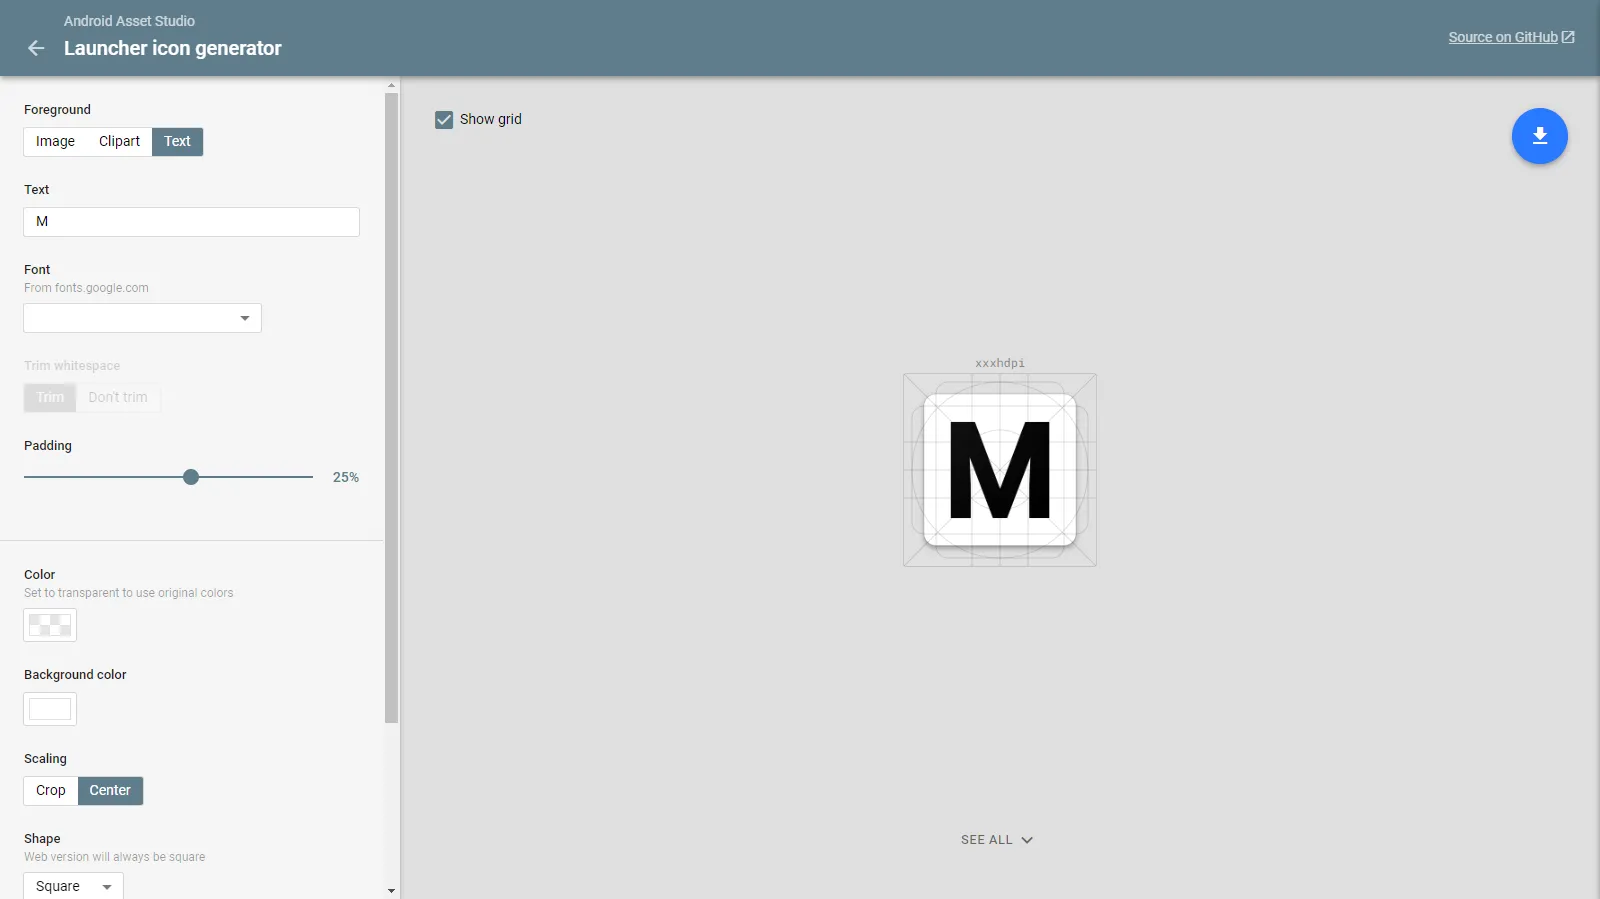
And the third one is Text. And It allows us to Type a letter or a word.
Download Logo
After we prepared our logo, let’s Continue generating our Logo.
For that, click on the blue Download icon on the top right corner.
By default, it will download a file named ic_launcher.zip.
This ZIP file contains all the files needed to change our Logo.
Next, extract this ZIP to somewhere.
Changing Logo
If you have observed the file structure inside the Android Folder in a Flutter Project, you may have noticed there is an src folder inside it.
Inside that folder, there will be folders named debug, main, and profile.
Our target is a folder named res inside the main folder.
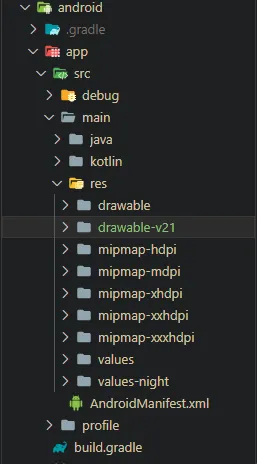
We can see that many folders are starting with mipmap in them.
Now open the extracted ic_launcher folder. We can see a folder named src similar to that we saw on the main folder.
The content of the src folder is also similar to the previous src folder we saw. But this one only has folders starting with mipmap. These are the folders which contain our new Logo.
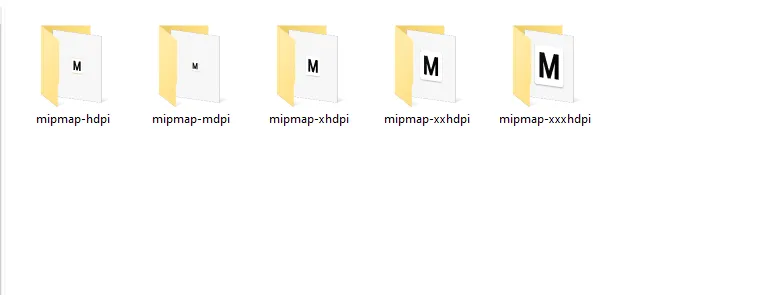
Now copy all these folders to the First src Folder we opened. It will replace our old (Default Flutter Logo) with our New Logo.
Final Steps
After Changing the Files, we have to completely rebuild our app to see the changes. For that, let’s clean our Flutter Project by running the below command.
flutter cleanIf we run our project now, We can see that our Logo has been changed to the new One.
Wrap
You can find more articles related to Firebase Here
Hope you found something useful here.
I’m always open to suggestions!
Let me know your suggestions and opinions on Twitter DM or drop a mail a [email protected].
If you’re feeling too generous, you can support me through Buy Me a Coffee.
Finally, if you found this helpful, please share this within your reach so that more people can benefit from this. And Follow me on Twitter for getting more posts like these 😉.